DIY Pergola Construction: Step-by-Step Guide
Embarking on a DIY pergola construction project can be both exciting and rewarding, but it’s essential to approach it with careful planning and attention to detail. In this comprehensive guide, we’ll walk you through the step-by-step process of building your own pergola, from laying the foundation to adding the finishing touches.
Why is a solid foundation important?
Before delving into the construction process, it’s crucial to understand the importance of a solid foundation for your pergola. A sturdy foundation provides stability and support, ensuring that your pergola withstands the test of time and adverse weather conditions. Without a proper foundation, your pergola may be susceptible to sinking, shifting, or even collapsing, compromising its structural integrity and safety.
Is a foundation mandatory?
While a foundation is not always mandatory for building a pergola, it is highly recommended, especially for larger or more complex structures. A foundation helps distribute the weight of the pergola evenly, preventing it from sinking into the ground over time. Additionally, a solid foundation provides a level surface for attaching posts and ensures that your pergola remains stable and secure for years to come.
Step 1: Planning and Design
The first step in DIY pergola construction is thorough planning and design. Determine the size, shape, and location of your pergola, taking into account factors such as sunlight exposure, existing landscape features, and intended use. Create a detailed plan that includes precise measurements, materials list, and a layout for the pergola structure.
Step 2: Obtaining Permits (if required)
Depending on your local building codes and regulations, you may need to obtain permits before starting construction on your pergola. Check with your city or county planning department to determine whether permits are required for your project and ensure that you comply with any applicable zoning laws or building codes.
Step 3: Gathering Materials and Tools
Once you have a solid plan in place and necessary permits secured, it’s time to gather the materials and tools needed for construction. Common materials for building a pergola include pressure-treated lumber, cedar, or composite materials for the frame, as well as concrete, gravel, or patio blocks for the foundation. Essential tools may include a saw, drill, level, tape measure, and wrenches.
Step 4: Preparing the Site
Prepare the site for pergola construction by clearing away any debris, vegetation, or obstacles. Use a shovel, rake, or excavator to level the ground and remove any rocks or roots that could interfere with the foundation. Take care to ensure that the site is properly graded and compacted to provide a stable base for your pergola.
Step 5: Installing the Foundation
If you’ve opted for a traditional post-and-beam pergola design, you’ll need to install a sturdy foundation to support the structure. Depending on your soil conditions and local building codes, this may involve digging post holes and pouring concrete footings, or using precast concrete piers or patio blocks to support the posts. Ensure that the foundation is level and properly aligned according to your pergola plan.
Step 6: Erecting the Structure
With the foundation in place, it’s time to begin erecting the pergola structure. Start by positioning and anchoring the posts in the designated locations, using brackets, anchors, or bolts to secure them to the foundation. Then, install the beams and rafters according to your pergola plan, ensuring that each component is level, plumb, and securely fastened.
Step 7: Adding Finishing Touches
Once the pergola structure is assembled, add any finishing touches or decorative elements to enhance its appearance and functionality. This may include attaching lattice panels for additional shade and privacy, installing lighting fixtures or ceiling fans for ambiance and comfort, or adding climbing vines or plants to soften the structure and integrate it with your landscape.
Step 8: Sealing and Staining (Optional)
If you’ve chosen to build your pergola using wood materials, consider sealing and staining the structure to protect it from the elements and enhance its natural beauty. Apply a weatherproof sealant or wood preservative to protect against moisture, rot, and insect damage, followed by a coat of exterior-grade stain or paint to add color and character to your pergola.
Step 9: Enjoying Your Outdoor Oasis
With your DIY pergola construction project complete, it’s time to sit back, relax, and enjoy your new outdoor oasis. Whether used for dining, entertaining, or simply unwinding with a book and a glass of wine, your pergola provides a versatile and stylish space for making memories and enjoying the beauty of the great outdoors.
Building your own pergola is a rewarding DIY project that adds value, functionality, and aesthetic appeal to your outdoor space. By following this step-by-step guide and paying attention to detail, you can create a beautiful and durable pergola that enhances your garden and enriches your outdoor living experience for years to come.
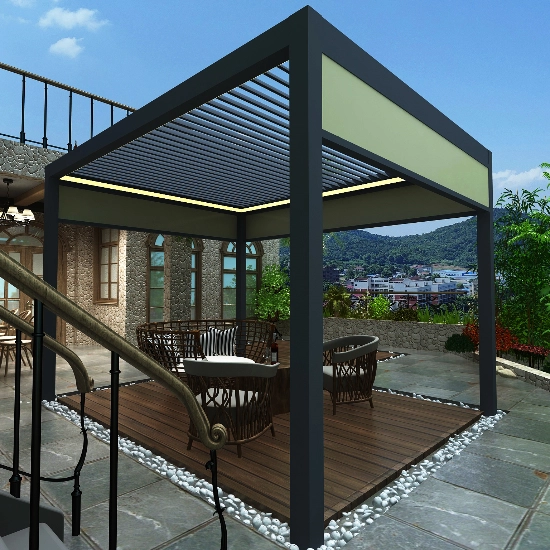
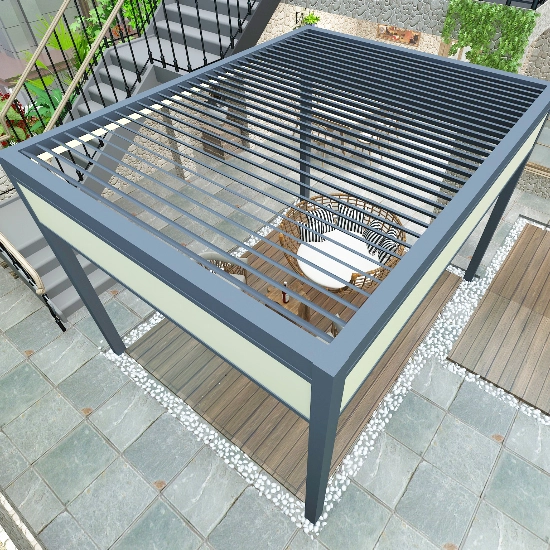
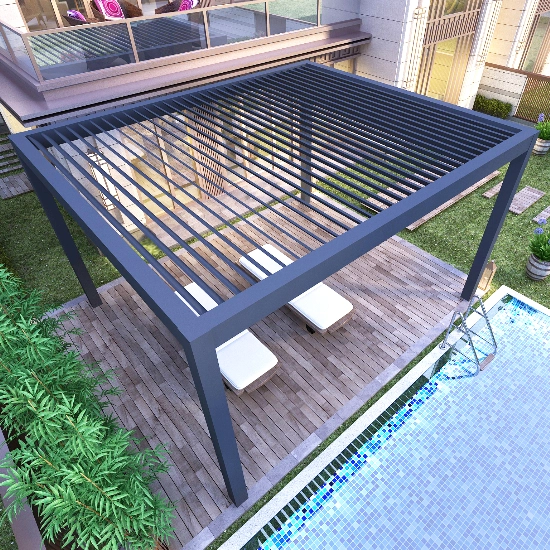
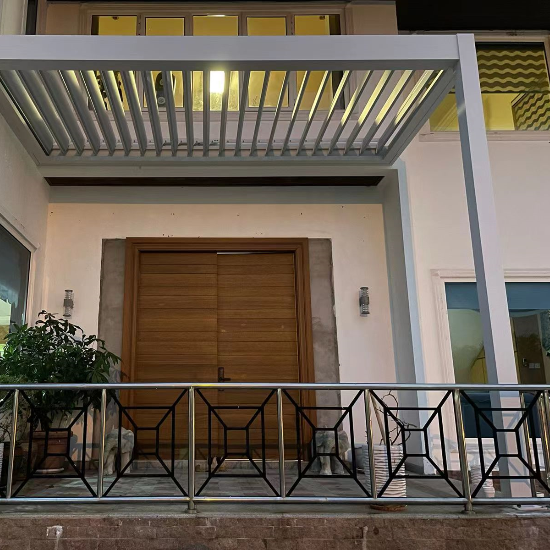
Pergola Case

